ReluxCAD for AutoCAD – Placing luminaires
Once you have marked a luminaire, you can position it.
Once you have marked a luminaire, you can position it by clicking on the "
Select Point"
command button in the "
Luminaire selection"
>
"Symbols"
dialog window.
The dialog window closes automatically, and you will be prompted to enter a point.
Select the appropriate point in the room at which you wish to position the luminaire and then specify the angle to determine the position of the luminaire.
If you wish to position further luminaires, repeat the process.
If you would like to position a number of luminaires in a uniform grid pattern, then you can use the "Place luminaire group" button to put these in position.
Enter a starting and an end point within the room. The dialog window for luminaire groups will then appear.
Select a luminaire type and enter the settings for positioning and rotating the luminaires.
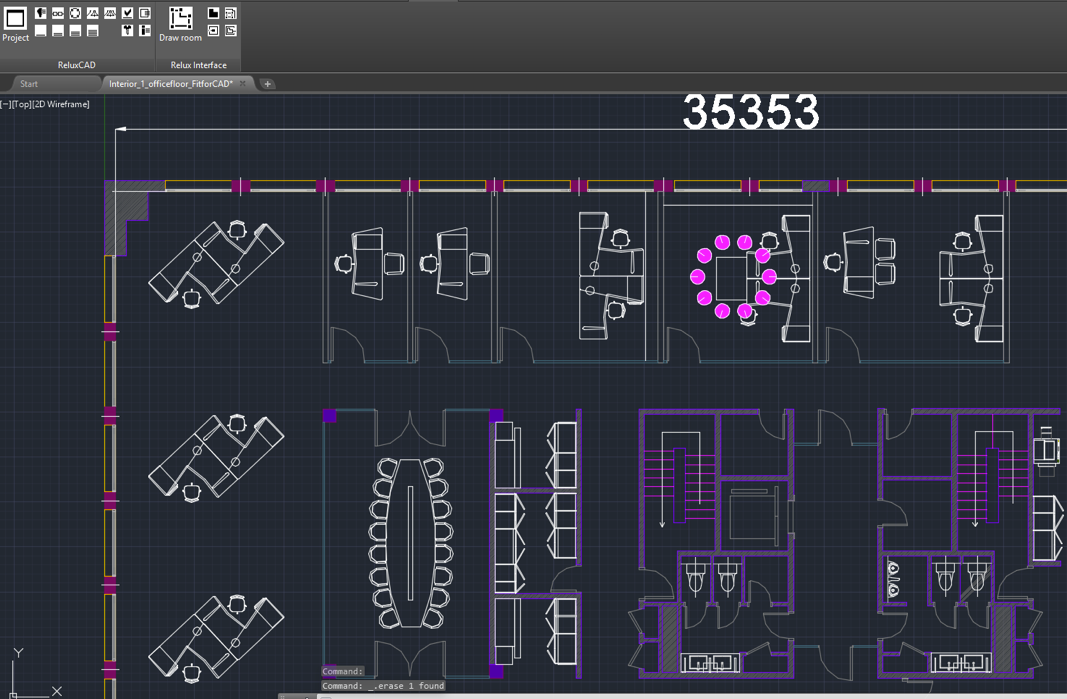
Circular Configuration or Arc: to place luminaires in a circular configuration or in an arc, you should use the "Place luminaire circle" command.
Placing pendant luminaires in one room with circular placing luminaire.
After this, select the central point for the configuration; the "Place luminaire circle" dialog window will then open.
Select the luminaire type and enter the settings for the number of luminaires, the radius and the starting and ending angle.
Independently of this, you can move, copy and delete the symbols with the standard AutoCAD commands.
Overview of ReluxCAD for AutoCAD